This article provides detailed instructions on how to install wordpress on your web hosting account. Follow these guidelines if you want to perform a new, manual installation of the latest wordpress version:
1- Download the WordPress package from http://wordpress.org/download/.
2- Upload wordpress to your public_html or root folder using ftp or file manager.
3- Extract the wordPress.zip archive directly into your public_html. Your wordpress files should live in the public_html aka root folder and not the extracted wordpress folder.
4- Create MySQL Database and User. please see this article.
5- Now navigate to your site’s URL to launch the installation process.
- If you have uploaded wordpress in your public_html directory you'll need to go to http://yourdomain.com in your preferred browser.
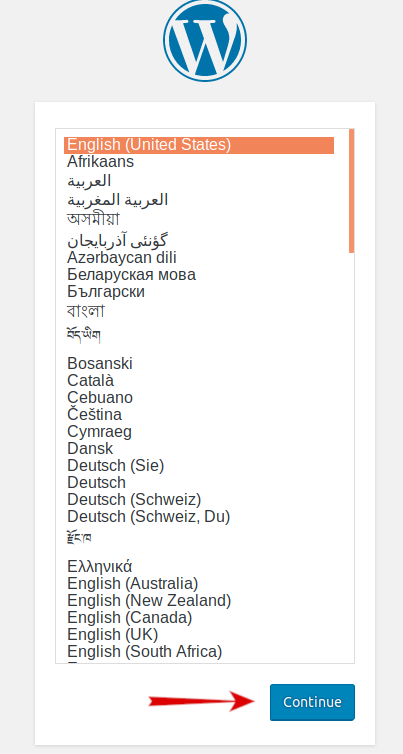
6- choose the preferred language, click Continue.
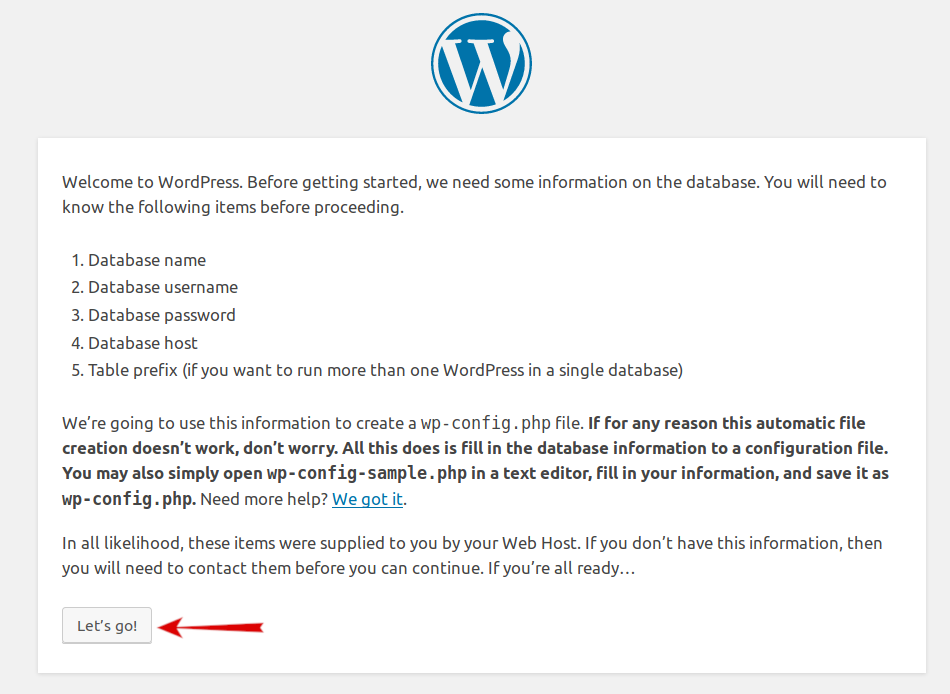
7- Press the Let's Go! button.
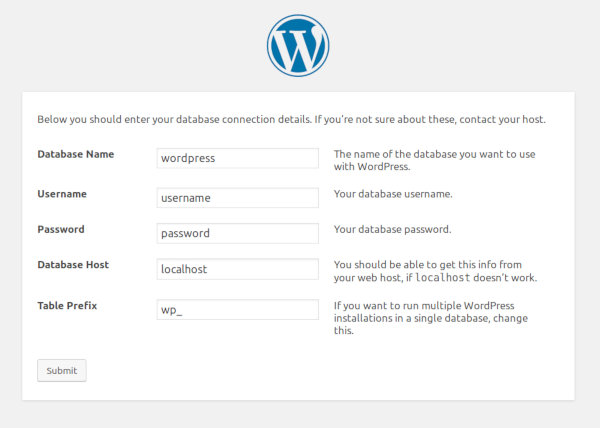
8- Enter the details for your MySQL database and press the Submit button.
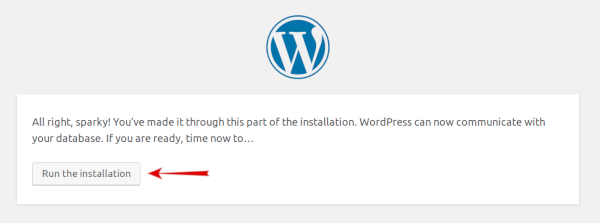
9- If you have entered all the necessary information, you will see a confirmation screen. Press the Run the Install button.
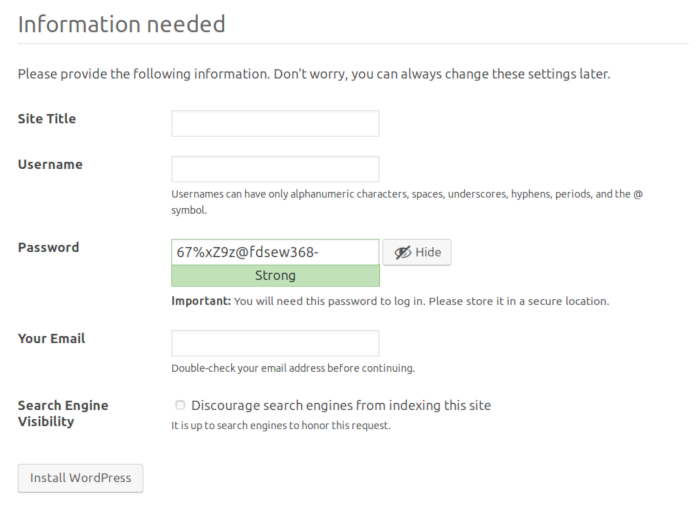
10- You will have to enter the information about your administrative username and the title of your new site. press the Install WordPress button.
11- Your new wordpress is now installed. You can use the Log In button to access your administrative backend.
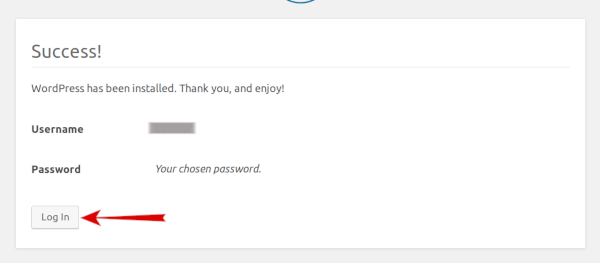
12- Login to wordpress.
